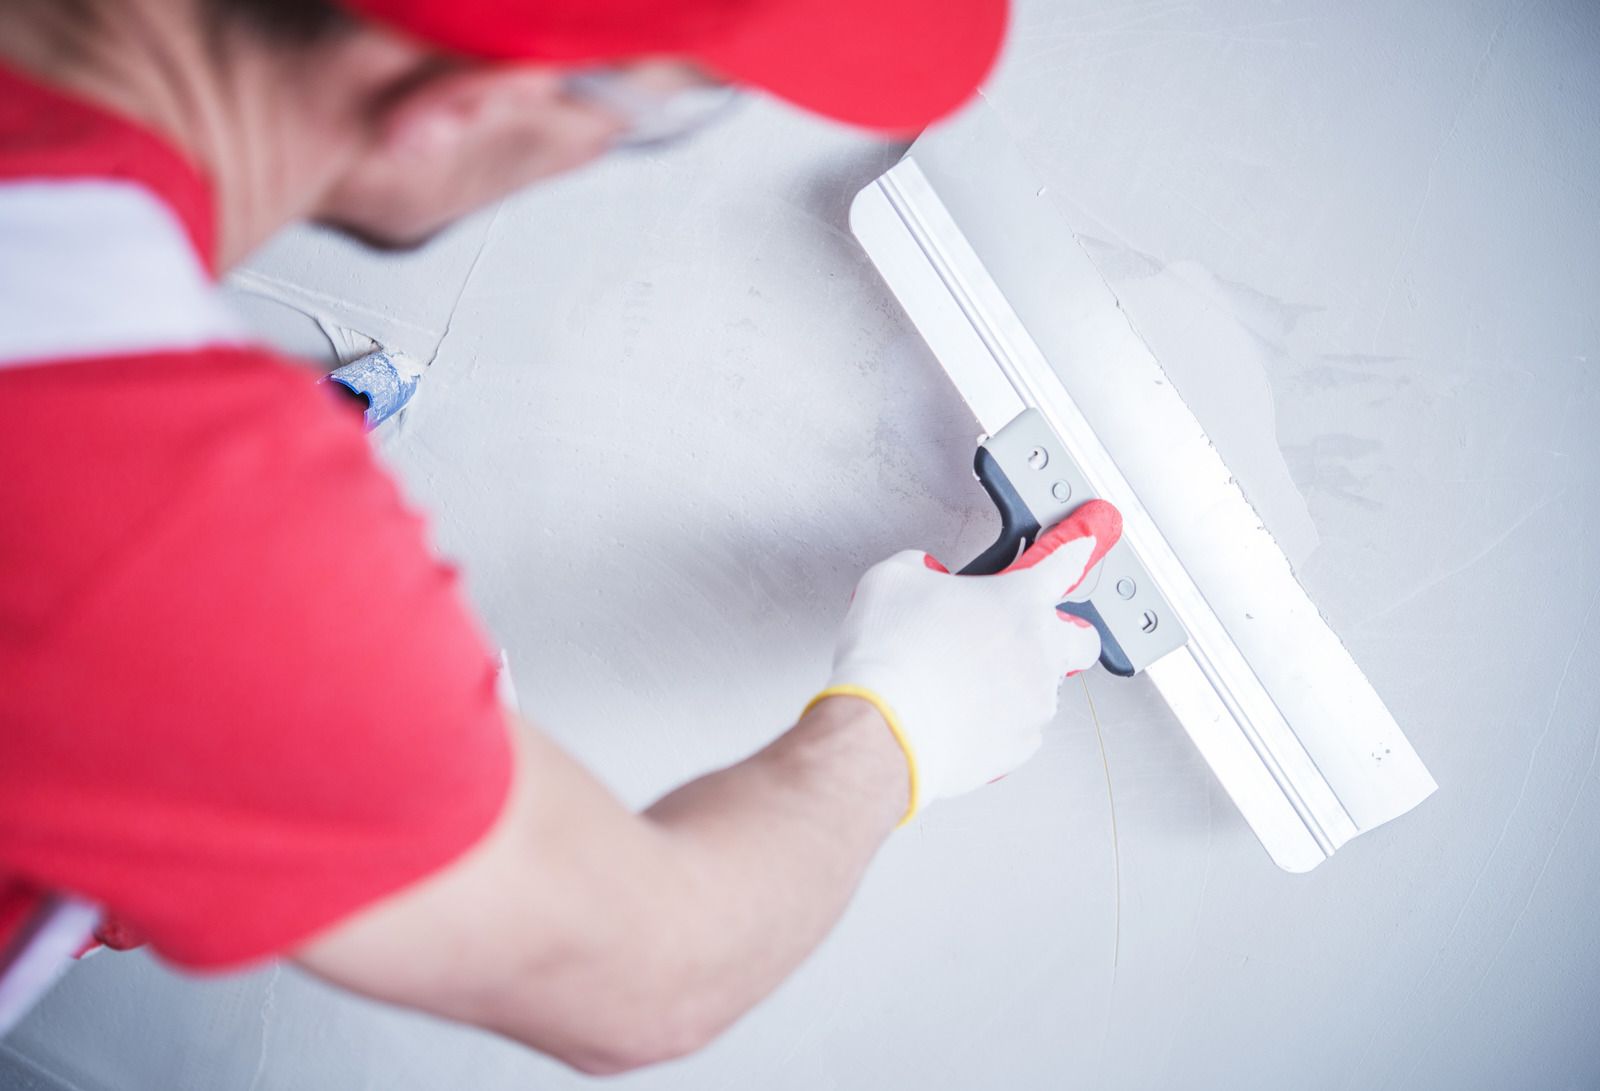
Patched the Hole, But the Spot Still Shows? Why Texture and Paint Give It Away
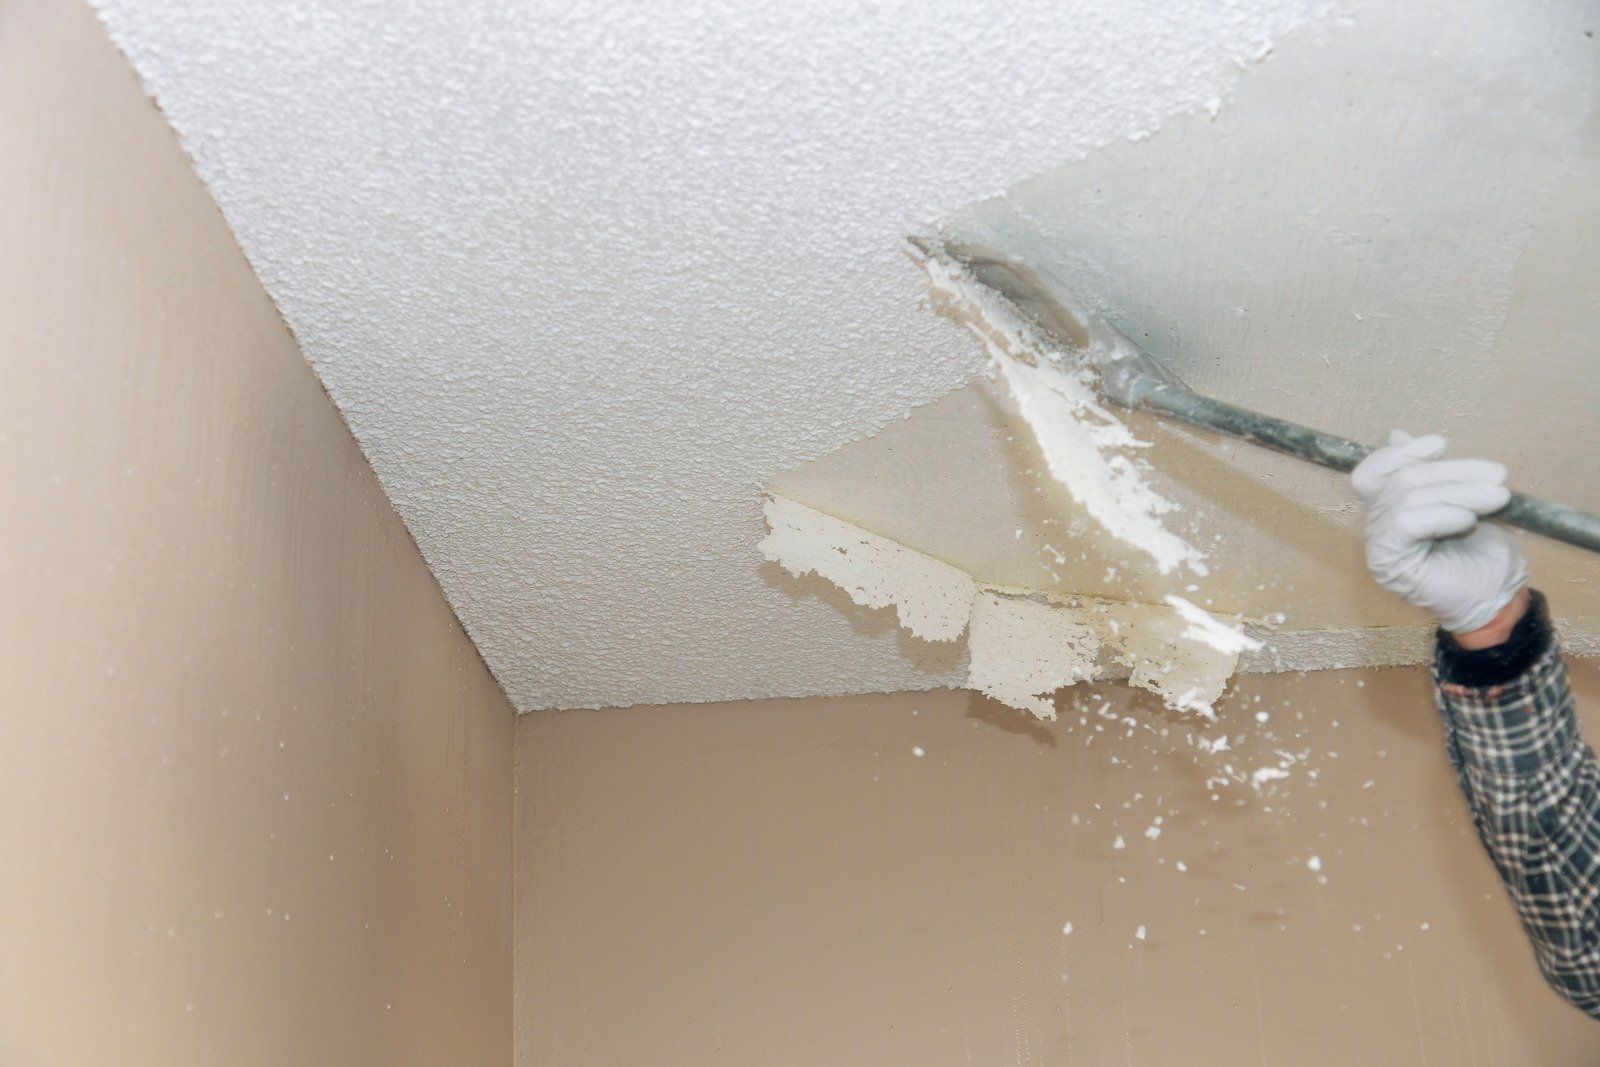
A licensed asbestos inspector or industrial hygienist will collect one or more small samples from the ceiling using proper containment procedures. Those samples are sent to an accredited laboratory that analyzes them under polarized light microscopy. Results are typically returned within a few days and clearly identify whether asbestos fibers are present and at what percentage.
Homeowners should never attempt to collect samples themselves. Improper sampling can release fibers into the home and expose occupants to the very risk they were trying to assess.
Quick Answer: A patch usually stands out even after painting because the repaired area has a different surface texture, a different porosity, or a different sheen than the wall around it. Fresh joint compound absorbs paint differently than old, painted drywall, and a patch that was sanded smooth reads as a flat spot against a wall covered in orange peel, knockdown, or hand-troweled texture. Priming the patch, matching the surrounding texture pattern, and feathering the new paint out with a roller instead of a brush usually solves it. When the patch is large, sits under strong window light, or has already been repainted more than once without fixing the problem, matching the texture by hand becomes the harder part of the job, and that is usually where a professional gets called in.
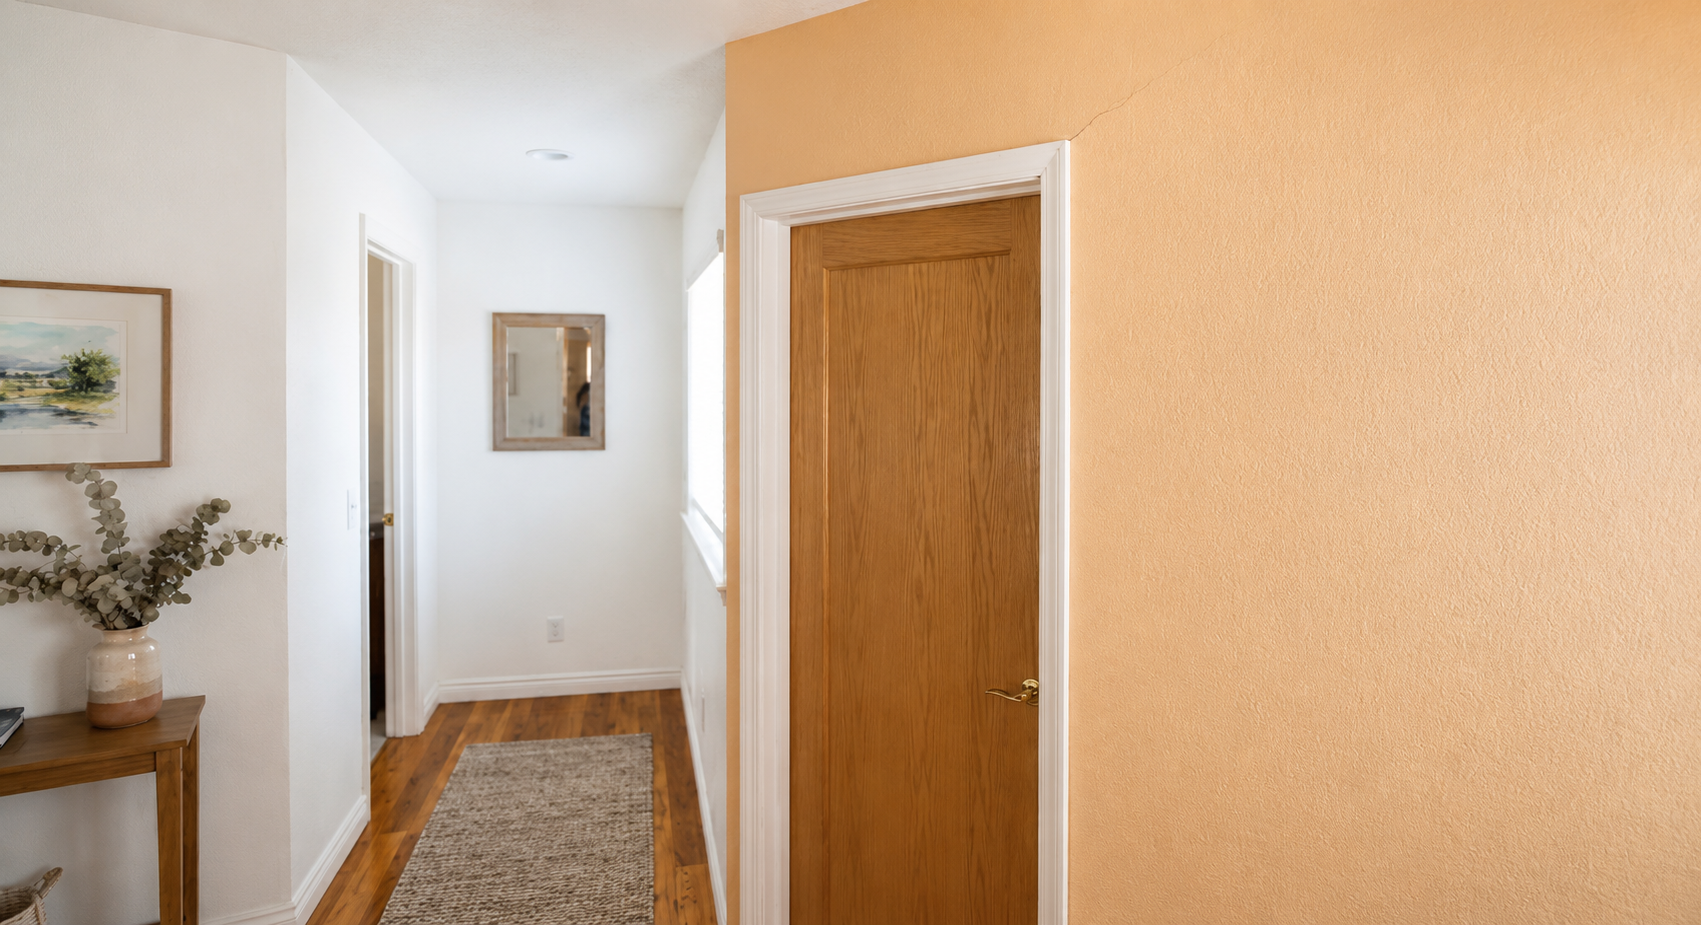
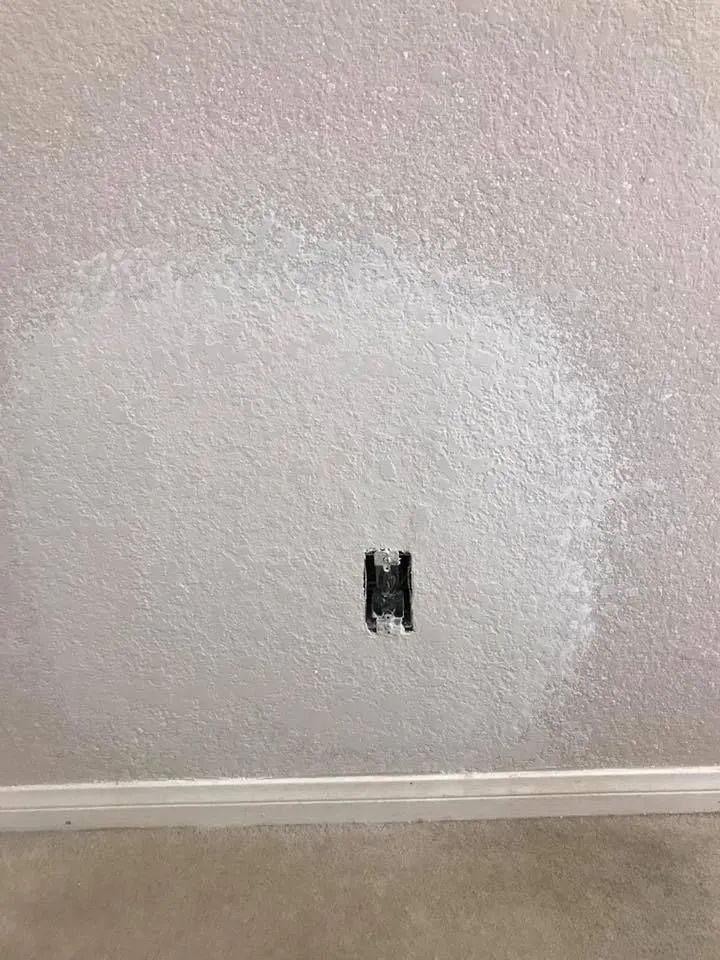
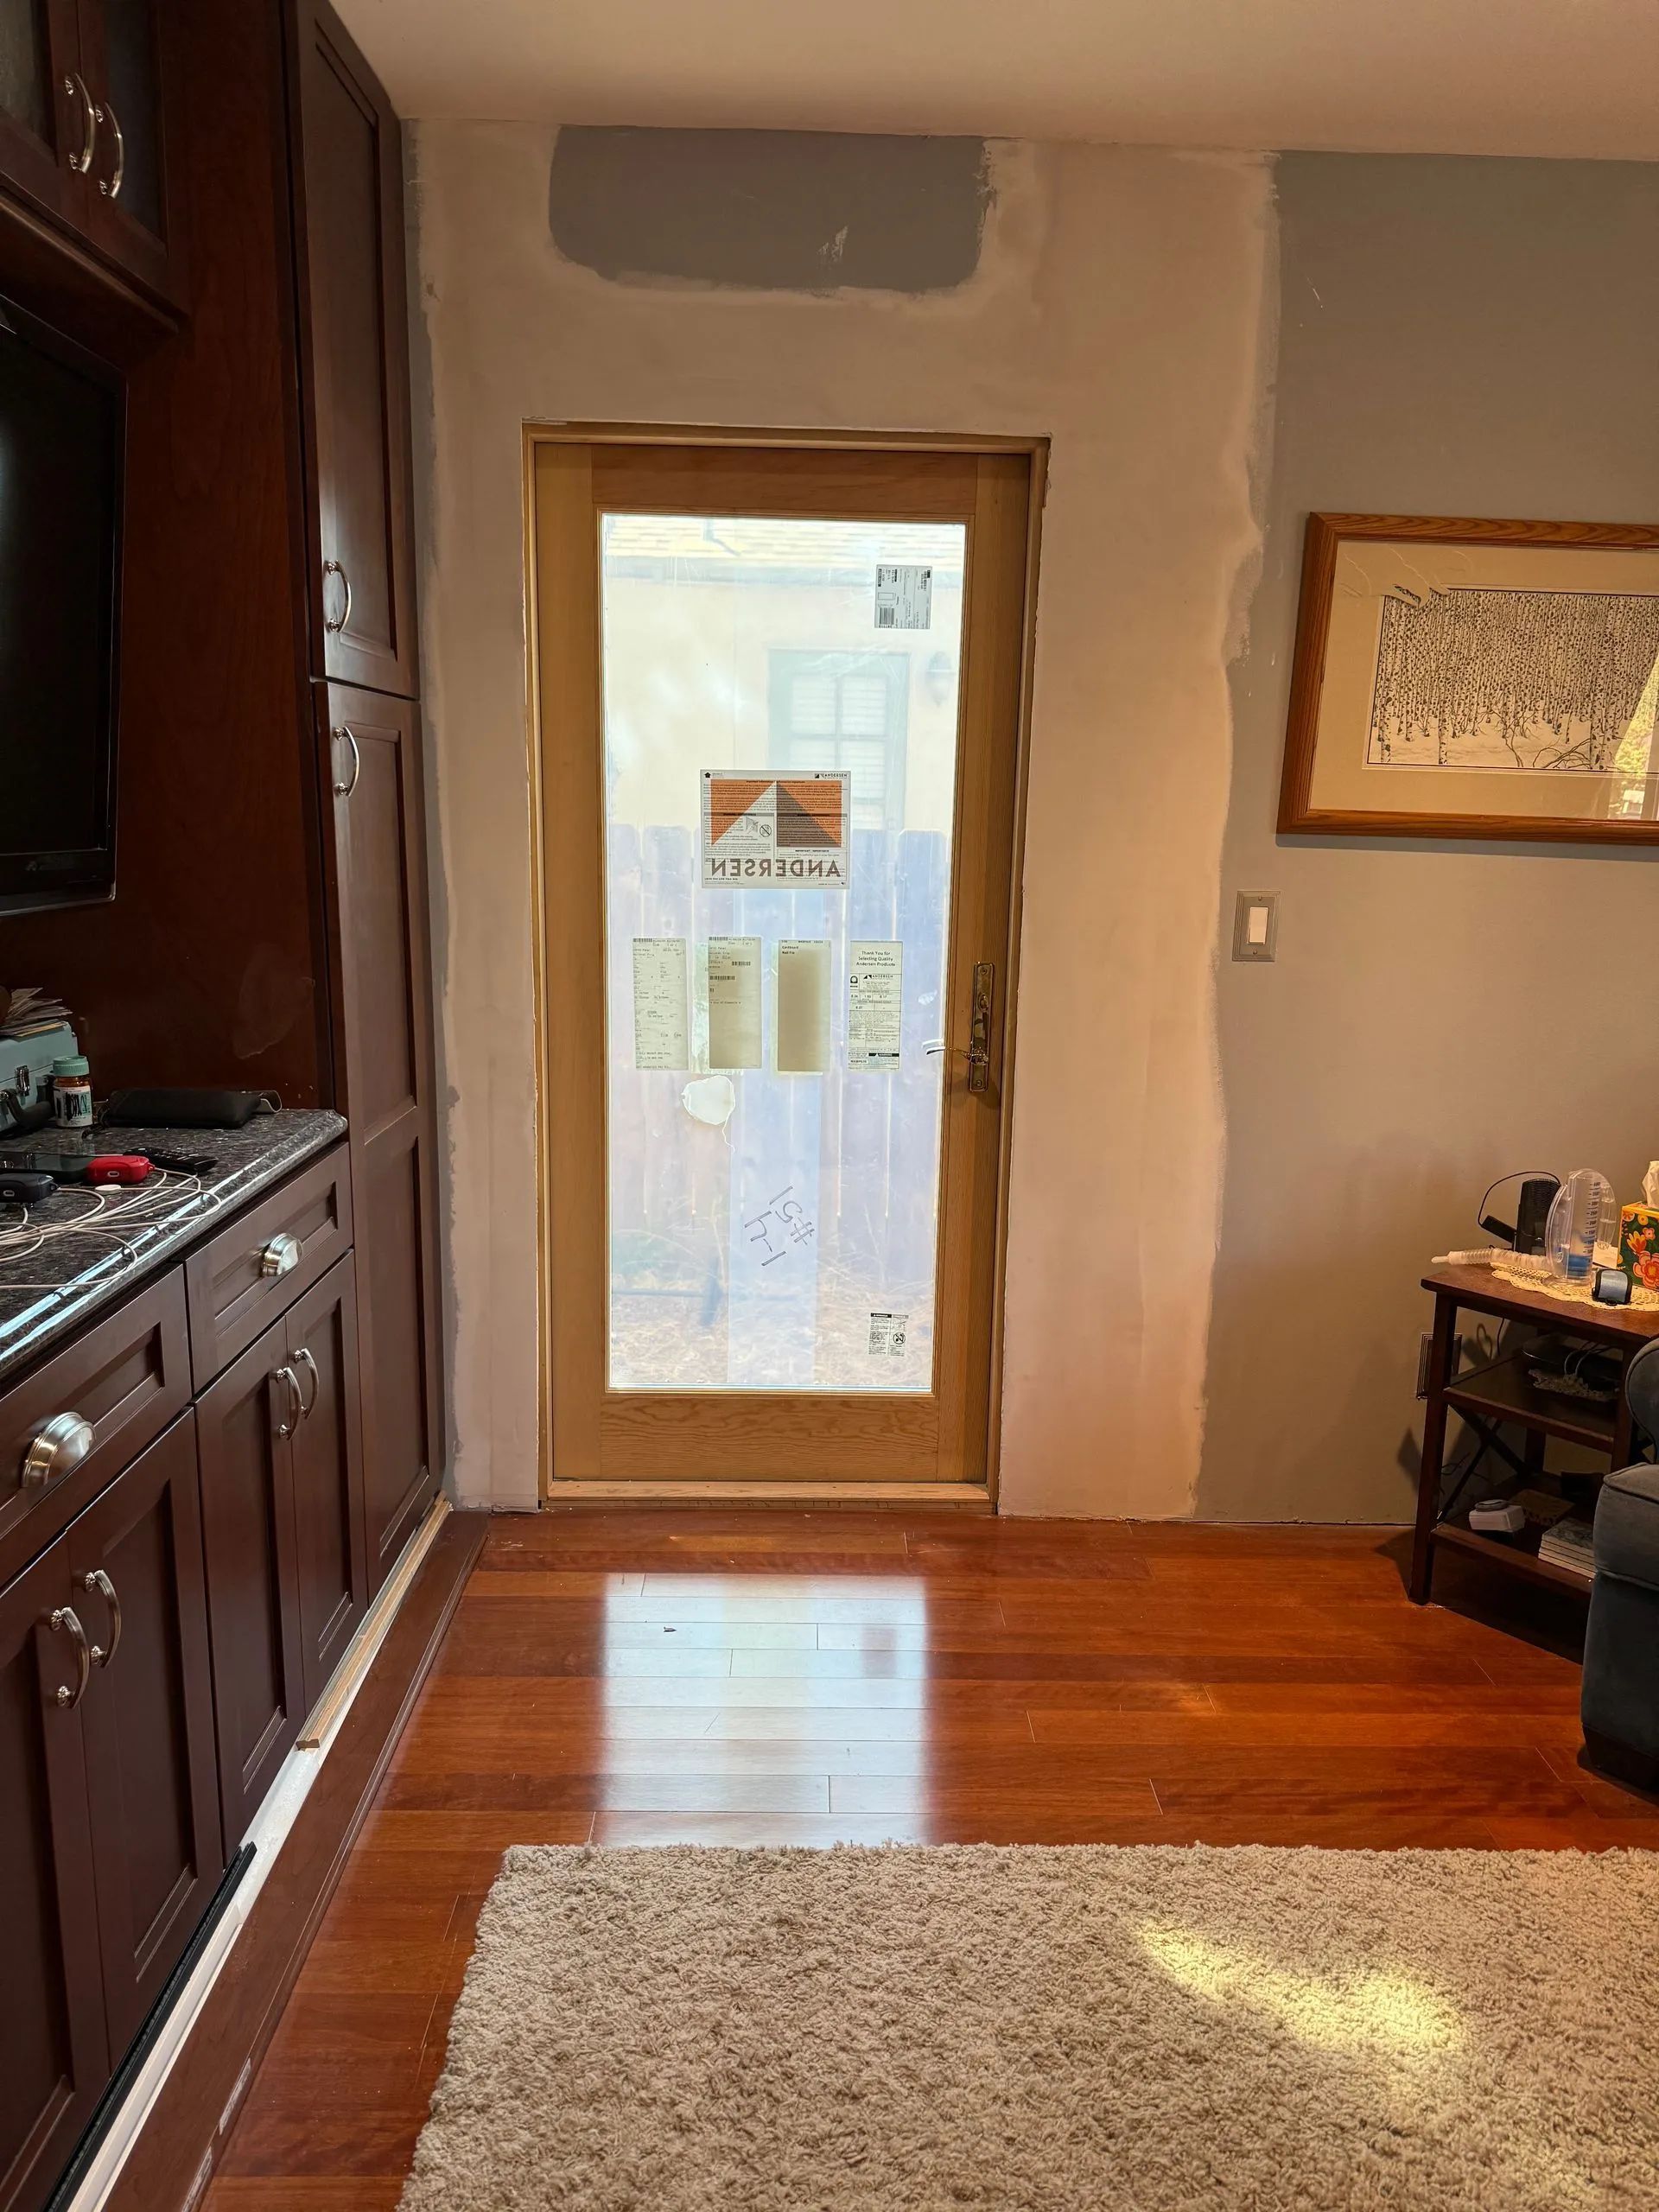
You stood back, admired the patch, and thought the job was done. Mud sanded flat, primer rolled on, paint matched to the can from the garage shelf. Then the sun moved across the room that afternoon, or you flipped on the overhead light after dark, and there it was again: a soft halo around a spot on the wall that should have disappeared. It is not your imagination, and it is not bad paint matching in the way most homeowners assume. The color is usually fine. What is giving the repair away is everything happening underneath the color.
Drywall repair has two separate jobs stacked on top of each other, and most DIY patches only finish the first one. The first job is structural: filling the hole, taping the seam, sanding it flat. The second job is optical: making the surface reflect light the same way the rest of the wall does. A patch can be perfectly smooth and still fail that second job completely, because smooth is exactly the problem when the wall around it was never smooth to begin with.
Why a Flawless Patch Can Still Stand Out
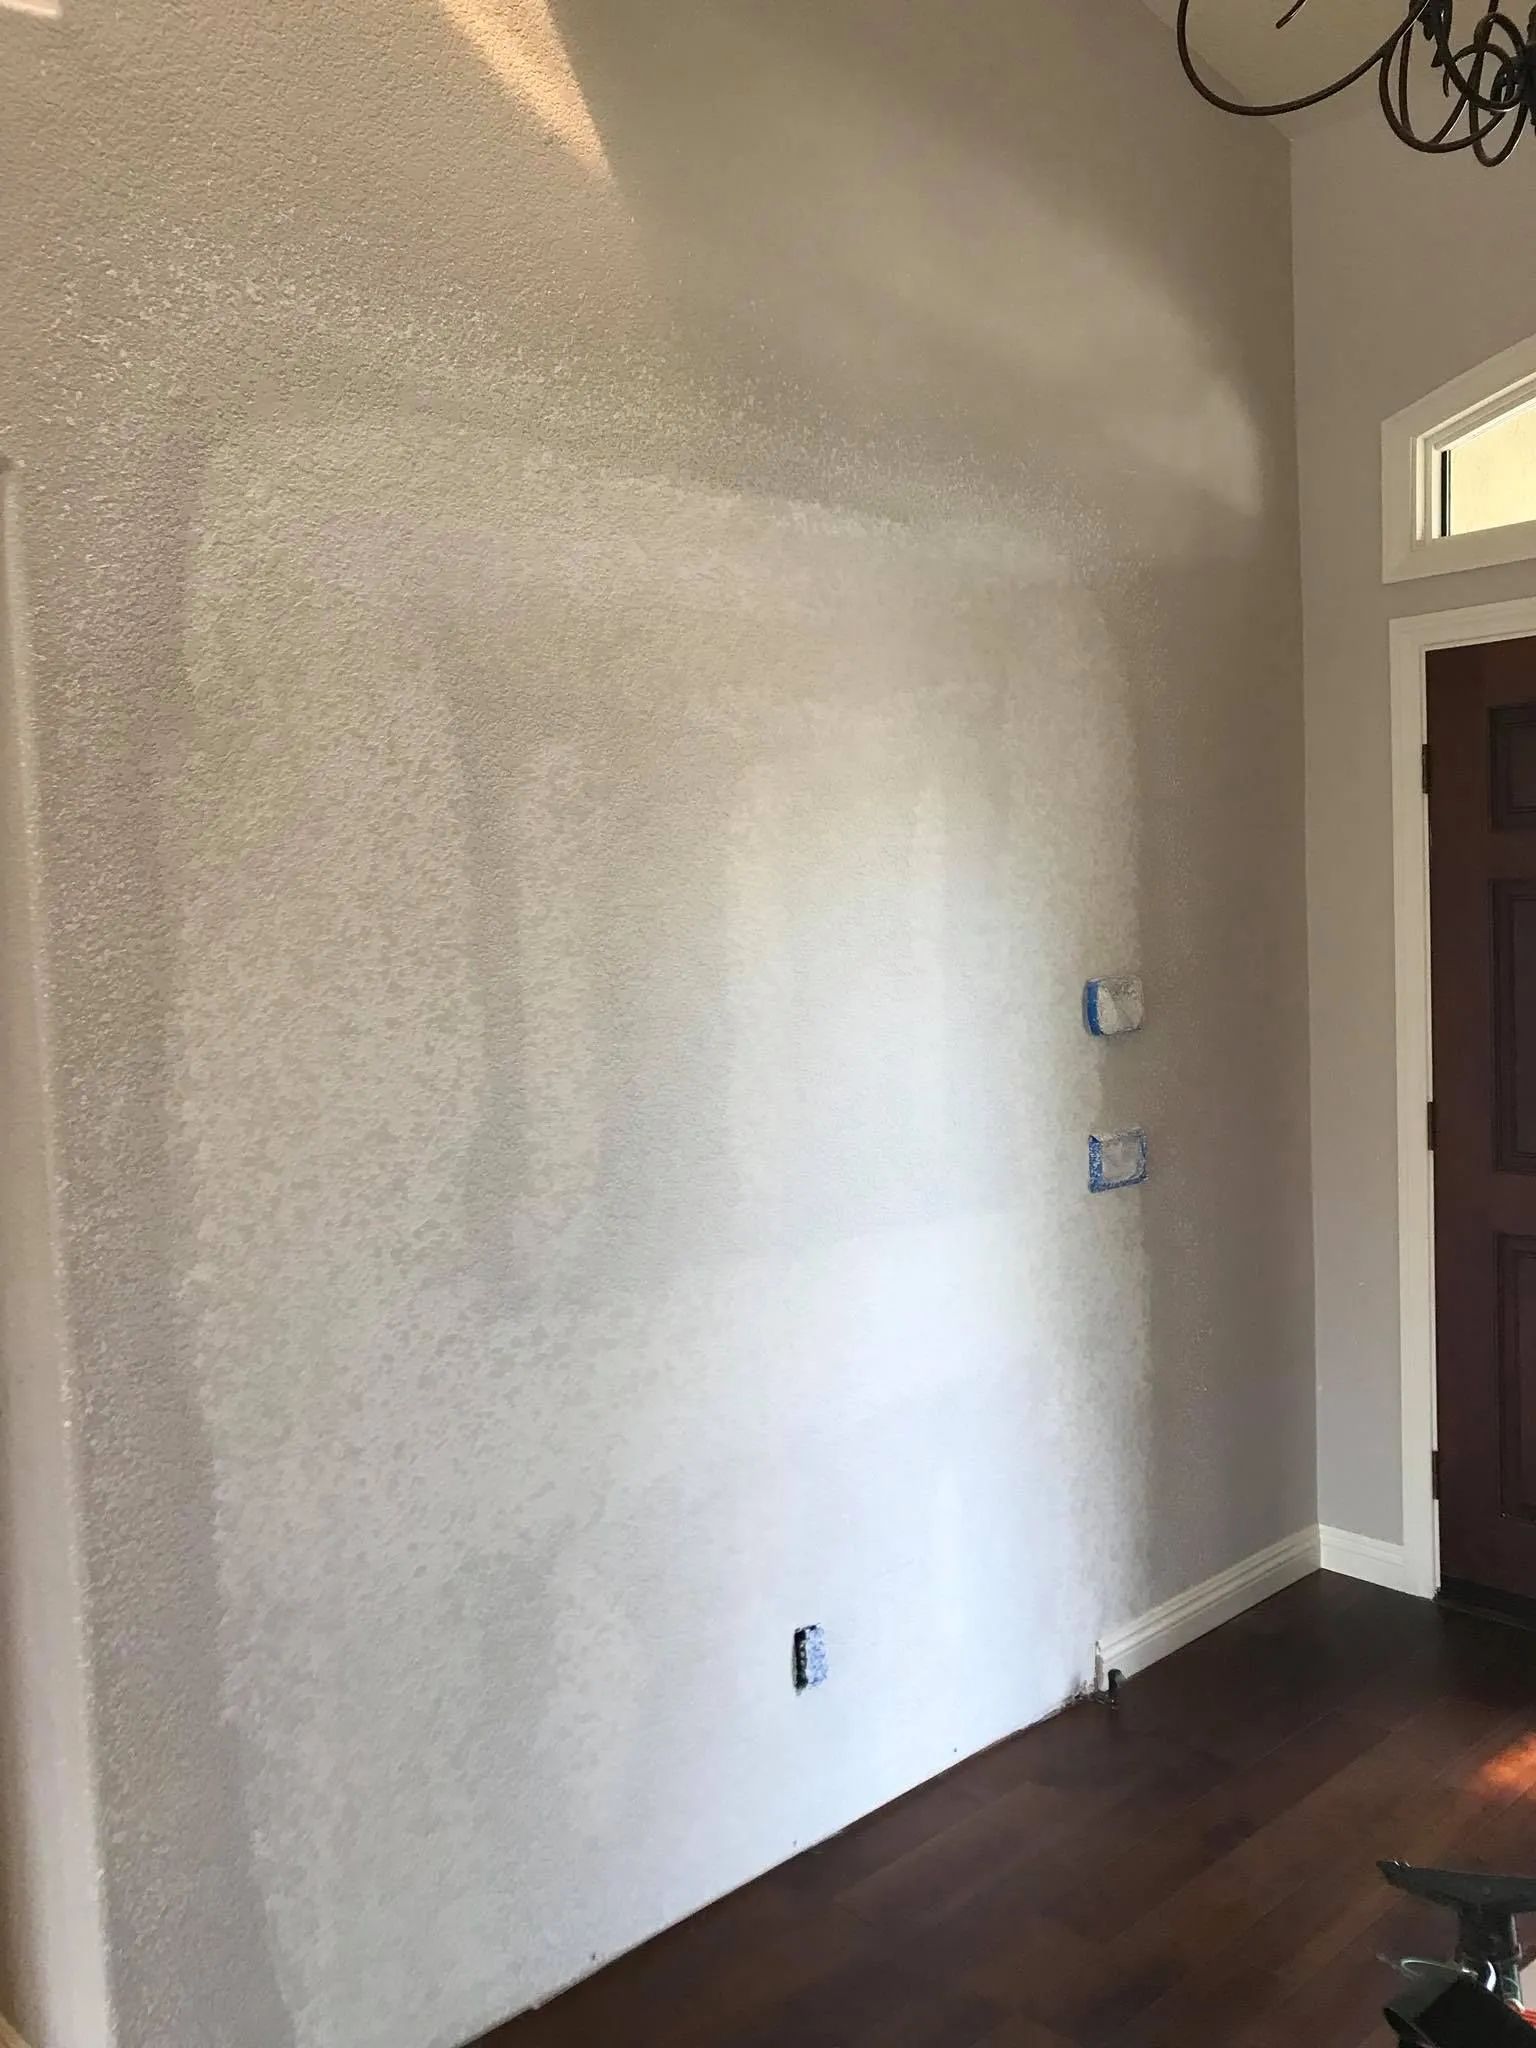
Most walls are not flat in the way they look flat from six feet away. Orange peel, knockdown, skip trowel, hand-troweled finishes, even a heavier eggshell roll pattern, all create a texture with peaks and valleys measured in fractions of an inch. Light hits those peaks and valleys unevenly, which is exactly what gives a textured wall its depth and hides small imperfections in the drywall underneath.
A patch made with a putty knife and sanded flat has none of that texture. It is optically smoother than the surrounding surface, even under a coat of paint that matches perfectly in color. From straight on, under flat daylight, a smooth patch on a lightly textured wall can look fine. Move a lamp to the side, or wait for late-afternoon sun to rake across the wall at a low angle, and the smooth spot reads as a shadowed dip or a flat sheen against a field of small bumps. This is one of the most common reasons a repair that looked finished in the morning looks obvious by evening.
Surface geometry. Texture is a three-dimensional pattern, not a two-dimensional look. Matching it means rebuilding that pattern with joint compound before paint ever goes on, not disguising a flat patch with a heavier coat of paint afterward.
Viewing angle.
A patch that disappears when you're facing it head-on can still show up from an angle, because raking light exaggerates any difference in surface height. Professional finishers check patches from multiple angles and under different light sources specifically because straight-on viewing hides problems that side lighting reveals.
The Sheen Difference Nobody Warns You About
Texture is only half of what gives a patch away. The other half is a paint phenomenon called flashing, and it is the reason a patch can look like a slightly different shade even when it was painted with color-matched paint from the exact same can.
Flashing is uneven gloss across a painted surface, caused by painting over porous material without sealing, uneven film thickness, and thin primer coverage. Fresh joint compound soaks up more binder than aged painted drywall, so the patch dries with a different sheen despite identical color.
Setting-type compounds, called hot mud because they cure chemically rather than air-drying, make this worse. Hot mud dries harder and sands to a more polished finish, changing how it absorbs paint again. Painted without primer, it almost always flashes, since the surface underneath differs entirely from surrounding drywall.
Spot-priming. Sealing a patch with a primer coat before topcoat paint levels out that porosity difference, which is the single most effective step for preventing a patch from flashing once the paint goes on.
Roller nap and feathering technique. Using a small roller rather than a brush to feather touch-up paint out past the edges of the patch helps blend both the texture and the sheen into the surrounding field, since a roller reproduces the stipple pattern paint naturally leaves on a wall, while a brush leaves its own distinct texture that stands out on its own.
Getting the texture pattern rebuilt correctly and the porosity sealed with primer solves most cases on the first attempt. Skipping either step tends to produce a patch that needs a second, third, or even a fourth coat of paint chasing a problem that was never actually about color.
Matching the Texture Itself, Not Just the Paint
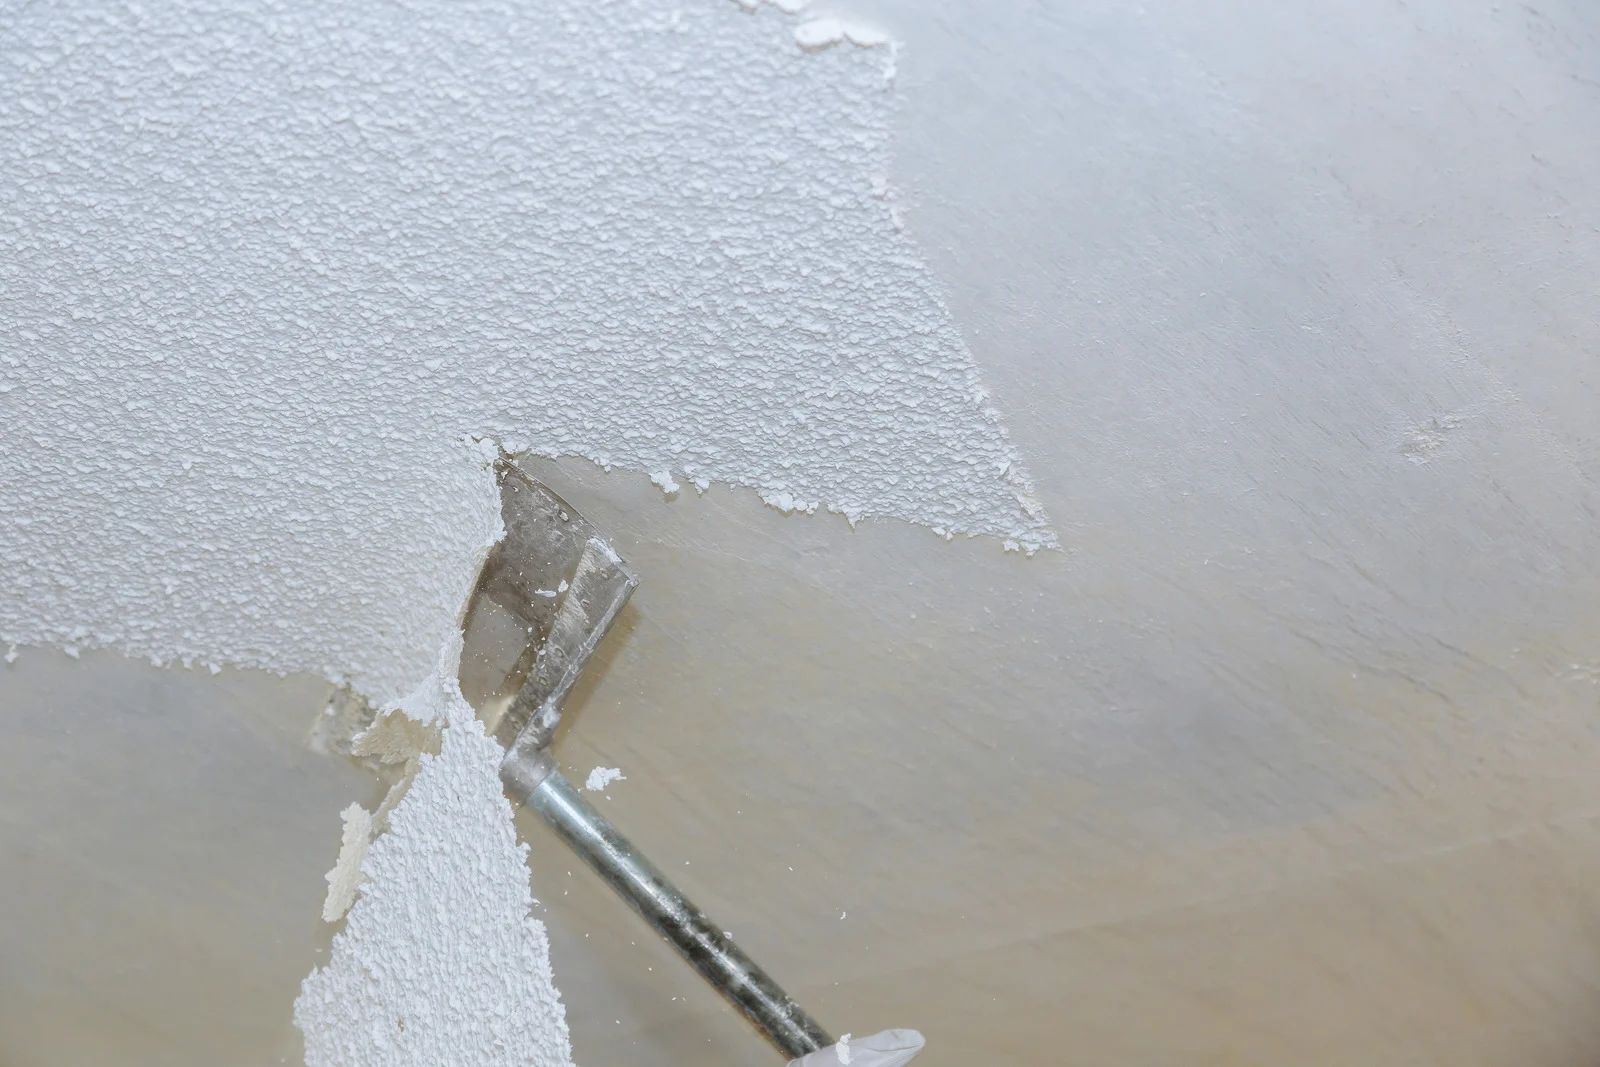
Southern California interiors carry several texture styles, often in one house. Orange peel dominates newer construction because it sprays fast and hides imperfections. Knockdown, sprayed then lightly troweled flat, reads softer and more mottled. Hand-troweled and skip-trowel finishes are hardest to replicate, since the pattern follows a finisher's hand rather than a machine.
Recreating any of these starts the same way: a light skim coat extending a couple inches past the patch, dried, sanded, and wiped clean. For orange peel or knockdown without a hopper gun, thin the compound to yogurt consistency, load a stiff-bristle brush, and flick it toward the wall, building droplets gradually.
The part separating a matched patch from a visible one is density and droplet size, not technique alone. A hand-brushed texture using fewer, larger droplets than the surrounding spray reads as a different pattern even after painting. Getting scale right usually takes a test patch on scrap, checked under the room's daytime lighting.
Tip:
Photograph the texture around the damaged area in natural daylight before you start any patch work. Zoom in on the image later and you'll often spot the droplet size, spacing, and knockdown pattern far more clearly than you can standing at the wall, which makes it much easier to judge whether your test patch is actually close.
Feathering the Edges Where Old Meets New
A patch can have perfect texture and primer coverage yet still show a visible edge line if the transition from old surface to new is too abrupt. Feathering means tapering the joint compound and texture pattern gradually outward from the repair's center, rather than building a hard-edged rectangle of new material on the old wall.
This matters just as much with paint. Painting only the patch's exact footprint leaves a visible edge where fresh film meets weathered film around it. Feathering paint several inches past the texture repair, rolled in the wall's stroke direction, prevents that line. A straightedge during sanding catches any bulge or dip that would catch light.
When a Small Patch Turns Into a Full Wall Job
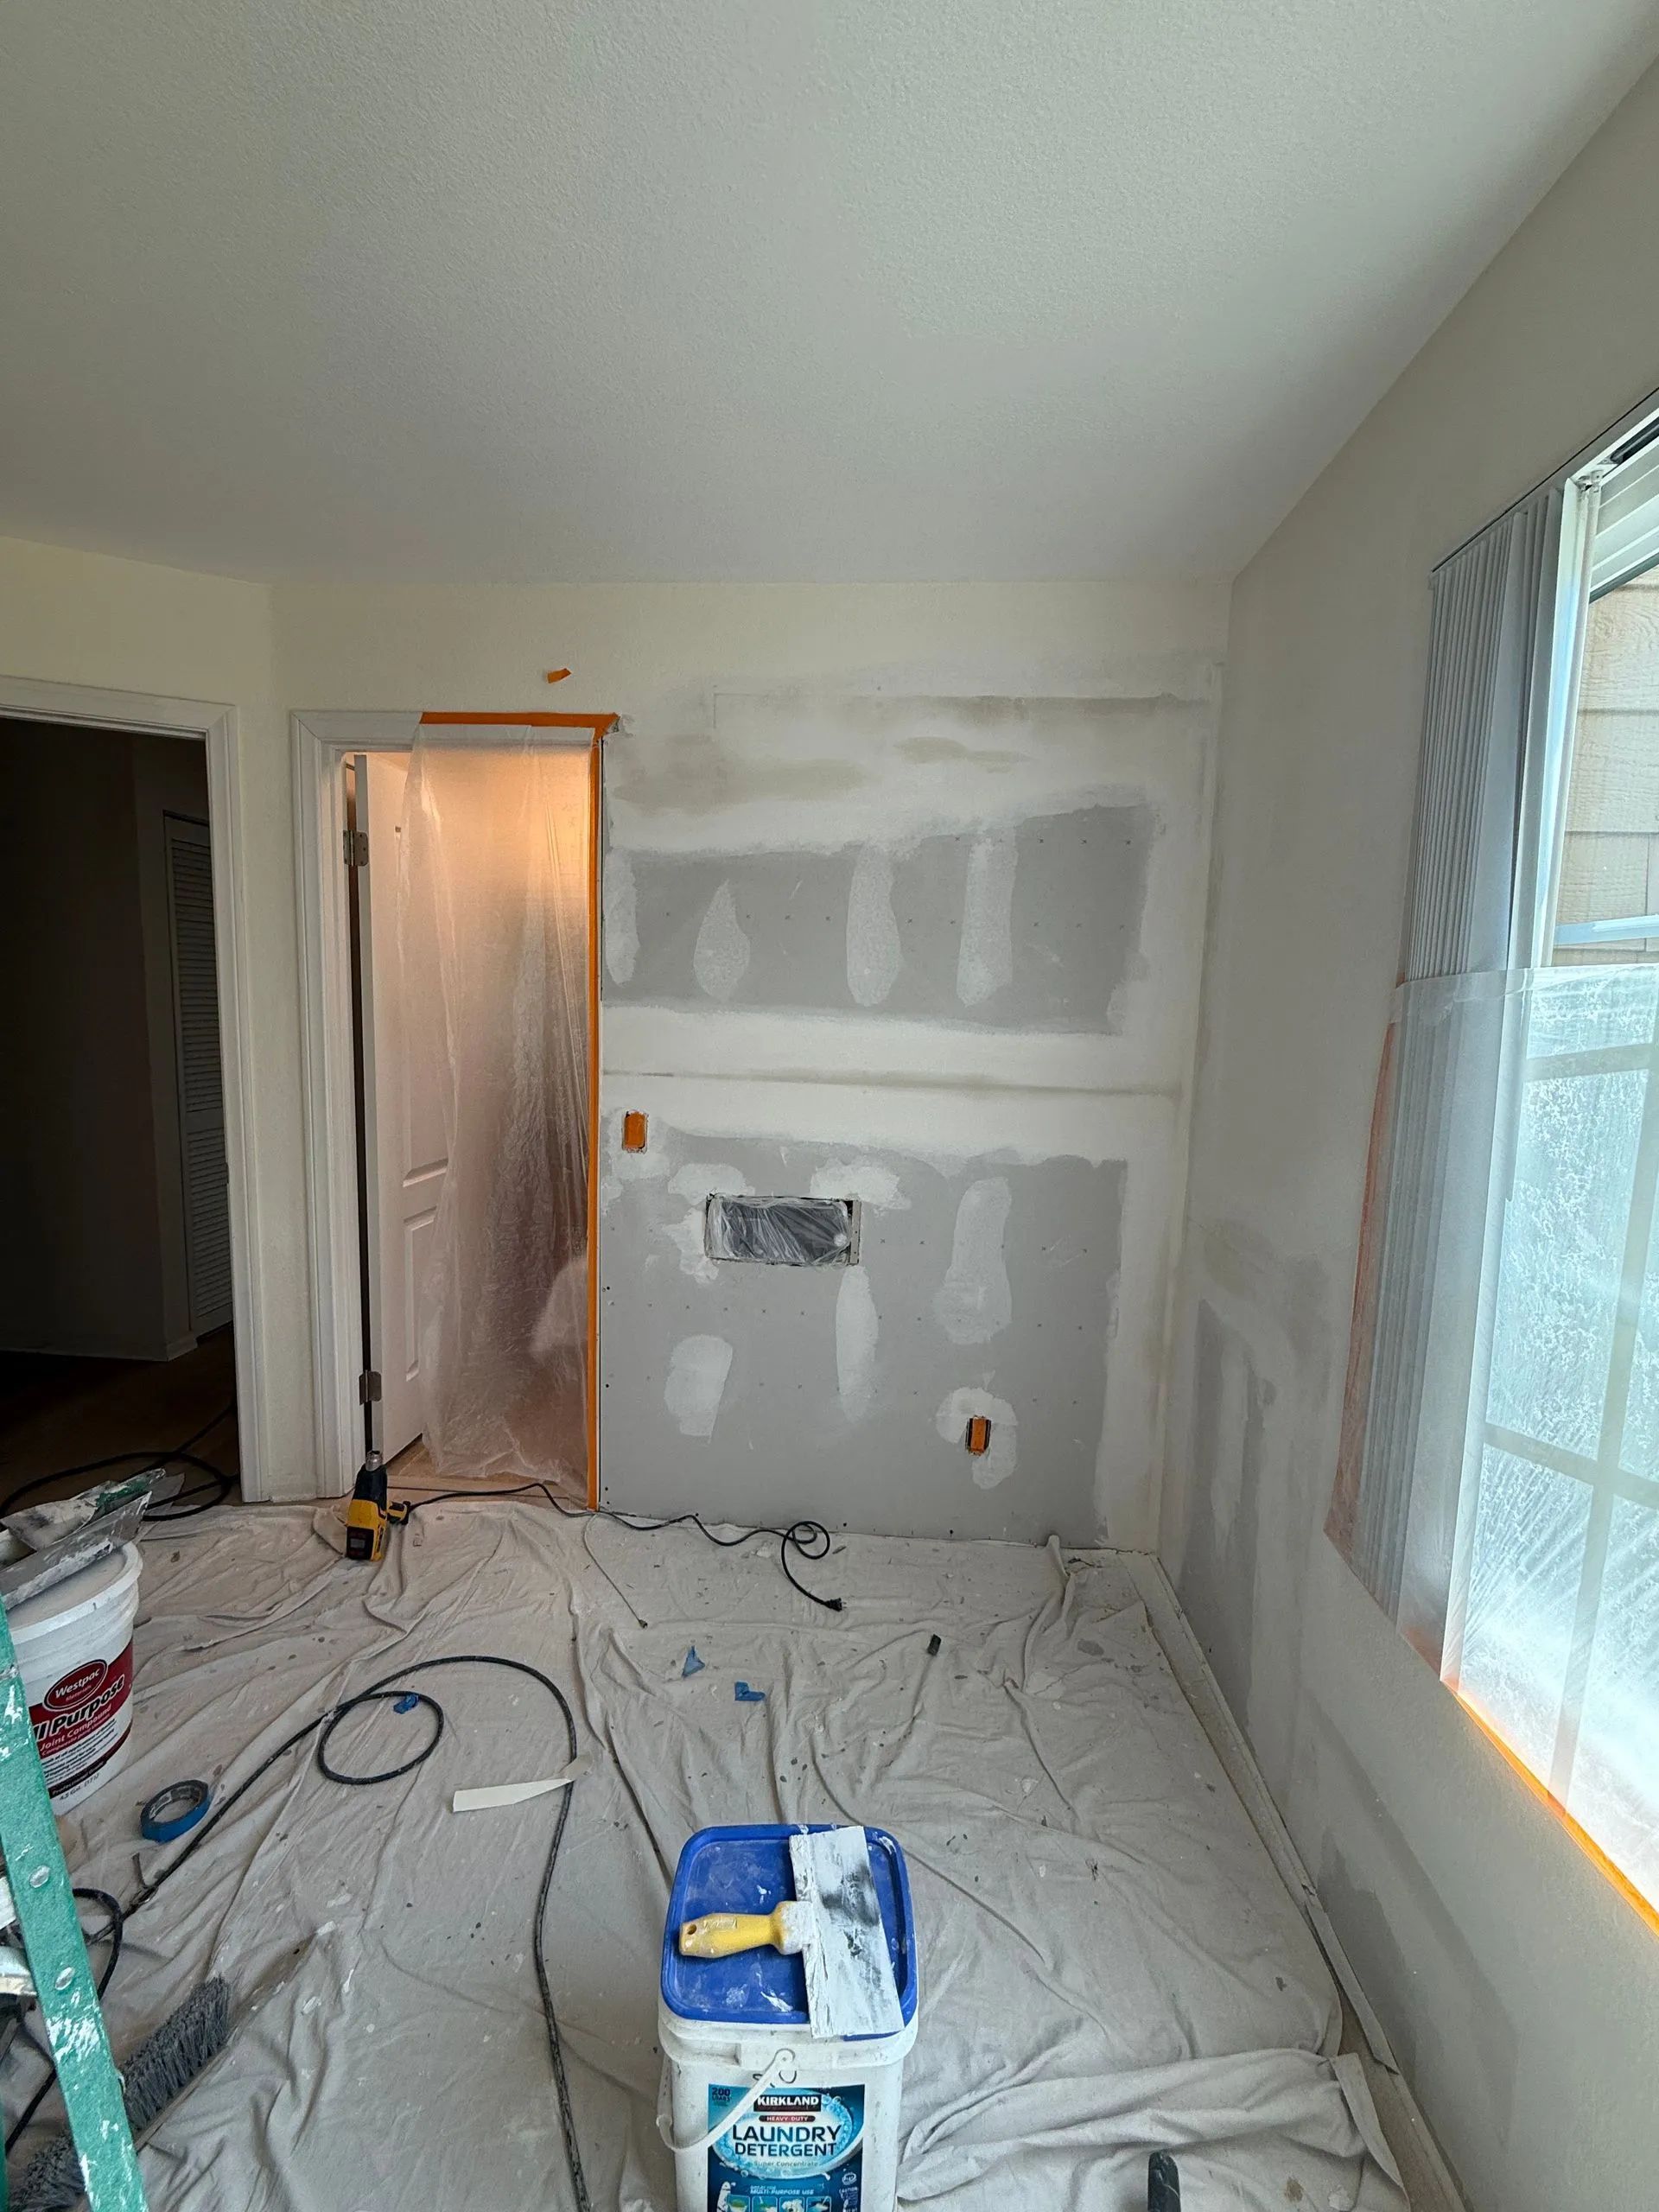
Some patches are small enough that a careful DIY approach, done with attention to primer and texture matching, closes the gap completely. Others are not, and recognizing the difference is worth doing before spending a weekend chasing a mismatch that keeps reappearing no matter what you try.
Patch size matters more than most homeowners expect. A hole under roughly six inches can often take a no-tape patch, where the panel's paper face bonds directly to the wall. Larger holes need a backed patch and more surface area, multiplying the chance of a visible mismatch.
Lighting is the other deciding factor. A patch on an interior hallway wall with even, indirect light is far more forgiving than one under direct afternoon sun through a west-facing window, since low-angle raking light exposes texture and sheen differences most aggressively and shrinks your margin for error.
A patch already repainted two or three times chasing the same visible spot usually signals that the underlying texture mismatch, not the paint color, is the real problem. Another coat of paint will not fix a texture issue no matter how many times it gets applied.
Whole-wall or whole-room retexturing becomes the more reliable option once a patch has failed repeatedly or covers too large an area to blend by hand. Rather than chasing an exact match on a small spot, a full retexture resets the surface to one consistent pattern, removing the mismatch entirely.
Warning:
Repeatedly sanding a patch to try to flatten a texture mismatch can thin the paper face of the surrounding drywall or burn through the existing texture on the wall around the repair, which then requires an even larger area to be re-skimmed and retextured than the original damage did. If a patch is not blending after one careful attempt at texture matching, stop sanding and reassess before making a second pass.
What a Professional Does Differently
A finisher who matches texture for a living isn't guessing at brush pressure or droplet size on the actual wall. The test patch happens first, on scrap, checked under the room's real lighting. Compound gets mixed to the texture style, and primer goes down as its own step, never skipped to save time.
The finishing steps matter as much as the patch. Feathering the compound and texture several inches beyond the repair, checking the surface with a straightedge under raking light, and rolling topcoat well past the repair all take time a rushed DIY skips. That is why a professional repair holds up under changing light throughout the day.
Why a Dab of Spackle Never Holds
A licensed asbestos inspector or industrial hygienist will collect one or more small samples from the ceiling using proper containment procedures. Those samples are sent to an accredited laboratory that analyzes them under polarized light microscopy. Results are typically returned within a few days and clearly identify whether asbestos fibers are present and at what percentage.
Homeowners should never attempt to collect samples themselves. Improper sampling can release fibers into the home and expose occupants to the very risk they were trying to assess.
The instinct with a nail pop is to push the fastener back in with a hammer, dab some spackle over it, and move on. That approach almost always comes back to bite you within a season or two, for a couple of reasons.
First, tapping the fastener back down does nothing about the wood that already shrank away from it. The framing is still short of where it used to be, so the fastener has nowhere solid to grip, and it is free to work its way forward again the next time the wood moves. Second, a fastener that has already broken the paper facing of the drywall has compromised the very thing that gives joint compound something to hold onto. Spackle bridges a small void reasonably well, but it is not designed to anchor a metal head that keeps trying to push through from behind.
The more durable approach treats the fastener itself as the problem, not just the bump on the surface. That typically means backing the old fastener out or driving it past the point of resistance, then placing a new screw a couple of inches away into solid, undisturbed framing to re-secure the panel. Once the board is anchored properly again, the old hole and the new screw both get covered, feathered out with a few thin coats of compound, sanded smooth, and blended into the surrounding texture so neither one is visible under any lighting.
Warning: Do not simply drive a screw wherever is convenient near a pop without checking what is actually behind the wall. Electrical wiring, plumbing lines, and HVAC ductwork often run through the same stud bays where pops appear, particularly near light switches, outlets, and ceiling fixtures. A screw driven blind into the wrong spot can puncture a wire or pipe and turn a cosmetic repair into a much bigger problem.
Frequently Asked Questions
Why does my patch look fine up close but show up from across the room?
Texture and sheen differences show most at a distance under raking light. A smooth patch reads as a flat spot once light crosses the wall at a low angle.
I already repainted the spot twice and it still shows. What am I doing wrong?
The problem is almost never color. It is usually an unprimed, porous patch causing sheen flashing, a texture mismatch paint cannot hide, or both. More coats just delay it.
Do I need to prime a small nail hole patch, or is that overkill?
Even small patches benefit from spot-priming. The porosity gap between fresh compound and old painted drywall causes flashing regardless of patch size, which is why tiny repairs still catch the eye.
Can I match texture without a spray hopper gun?
Yes, for smaller patches. A stiff-bristle brush loaded with thinned compound and flicked at the wall replicates orange peel or knockdown well. Larger or hand-troweled patterns need spray equipment and experience.
How do I know if my whole wall needs retexturing instead of another patch attempt?
If a patch fails to blend after one careful, primed, texture-matched attempt, or covers more than a small section, retexturing the full wall usually beats chasing an isolated spot
Does the type of texture on my wall affect how noticeable a bad patch will be?
Yes. Finer textures like light orange peel hide mismatches better than heavier knockdown or hand-troweled finishes, where bigger texture elements make any difference in pattern or density stand out fast.
Why the Right Approach Outlasts the Repaint Cycle
A patch that keeps reappearing after fresh paint is telling you something the paint cannot answer. The color was rarely the culprit. What gives the spot away is surface texture, porosity, and sheen, the three things that decide how a wall reflects light. Rebuild the texture pattern, seal the fresh compound with primer, and feather both the mud and the paint outward, and the halo that showed up every afternoon, and again under the overhead light at night, finally stops returning.
Gabe's Drywall
has spent 20
years matching texture and sheen across the settled, sun-aged walls of stucco homes throughout Ramona, CA, where expansive soil and afternoon light expose every shortcut a rushed patch takes. That experience shows in the small steps most guides skip: a test patch checked under the room's real lighting, primer treated as its own coat, and a straightedge run across the feathered edge before anyone decides the surface is finished and ready to hold up under changing light.